This project is based on an ESP32-S2 general-purpose development board with micropython to connect to the local network.


- Getting started
- Instructions
- Environment Variables
- Running Tests
- Usage/Examples
- Feedback
- Support
- License
- Autors
- Links
Using MicroPython is a great way to get the most of your ESP32 board. And vice versa, the ESP32 chip is a great platform for using MicroPython. This tutorial will guide you through setting up MicroPython, getting a prompt, using WebREPL, connecting to the network and communicating with the Internet, using the hardware peripherals, and controlling some external components.
Let’s get started!
- ESP32 - working on this board
- MicroPython for ESP32
- Datasheet ESP32-S2-WROOM-I
- ESP32-S2-Saola-1
- USB 2.0 cable (Standard-A to Micro-B)
- Computer running Thonny on Windows, Linux or macOS (in this case macOS is used)

There are three mutually exclusive ways to provide power to the board:
- Micro-USB port, default power supply
- 5V and GND pin headers
- 3V3 and GND pin headers
It is recommended to use the first option: Micro-USB Port.

-
Install MicroPython on the ESP32, you can use this tutorial;
-
Or you can install using Tonny software, as follows:
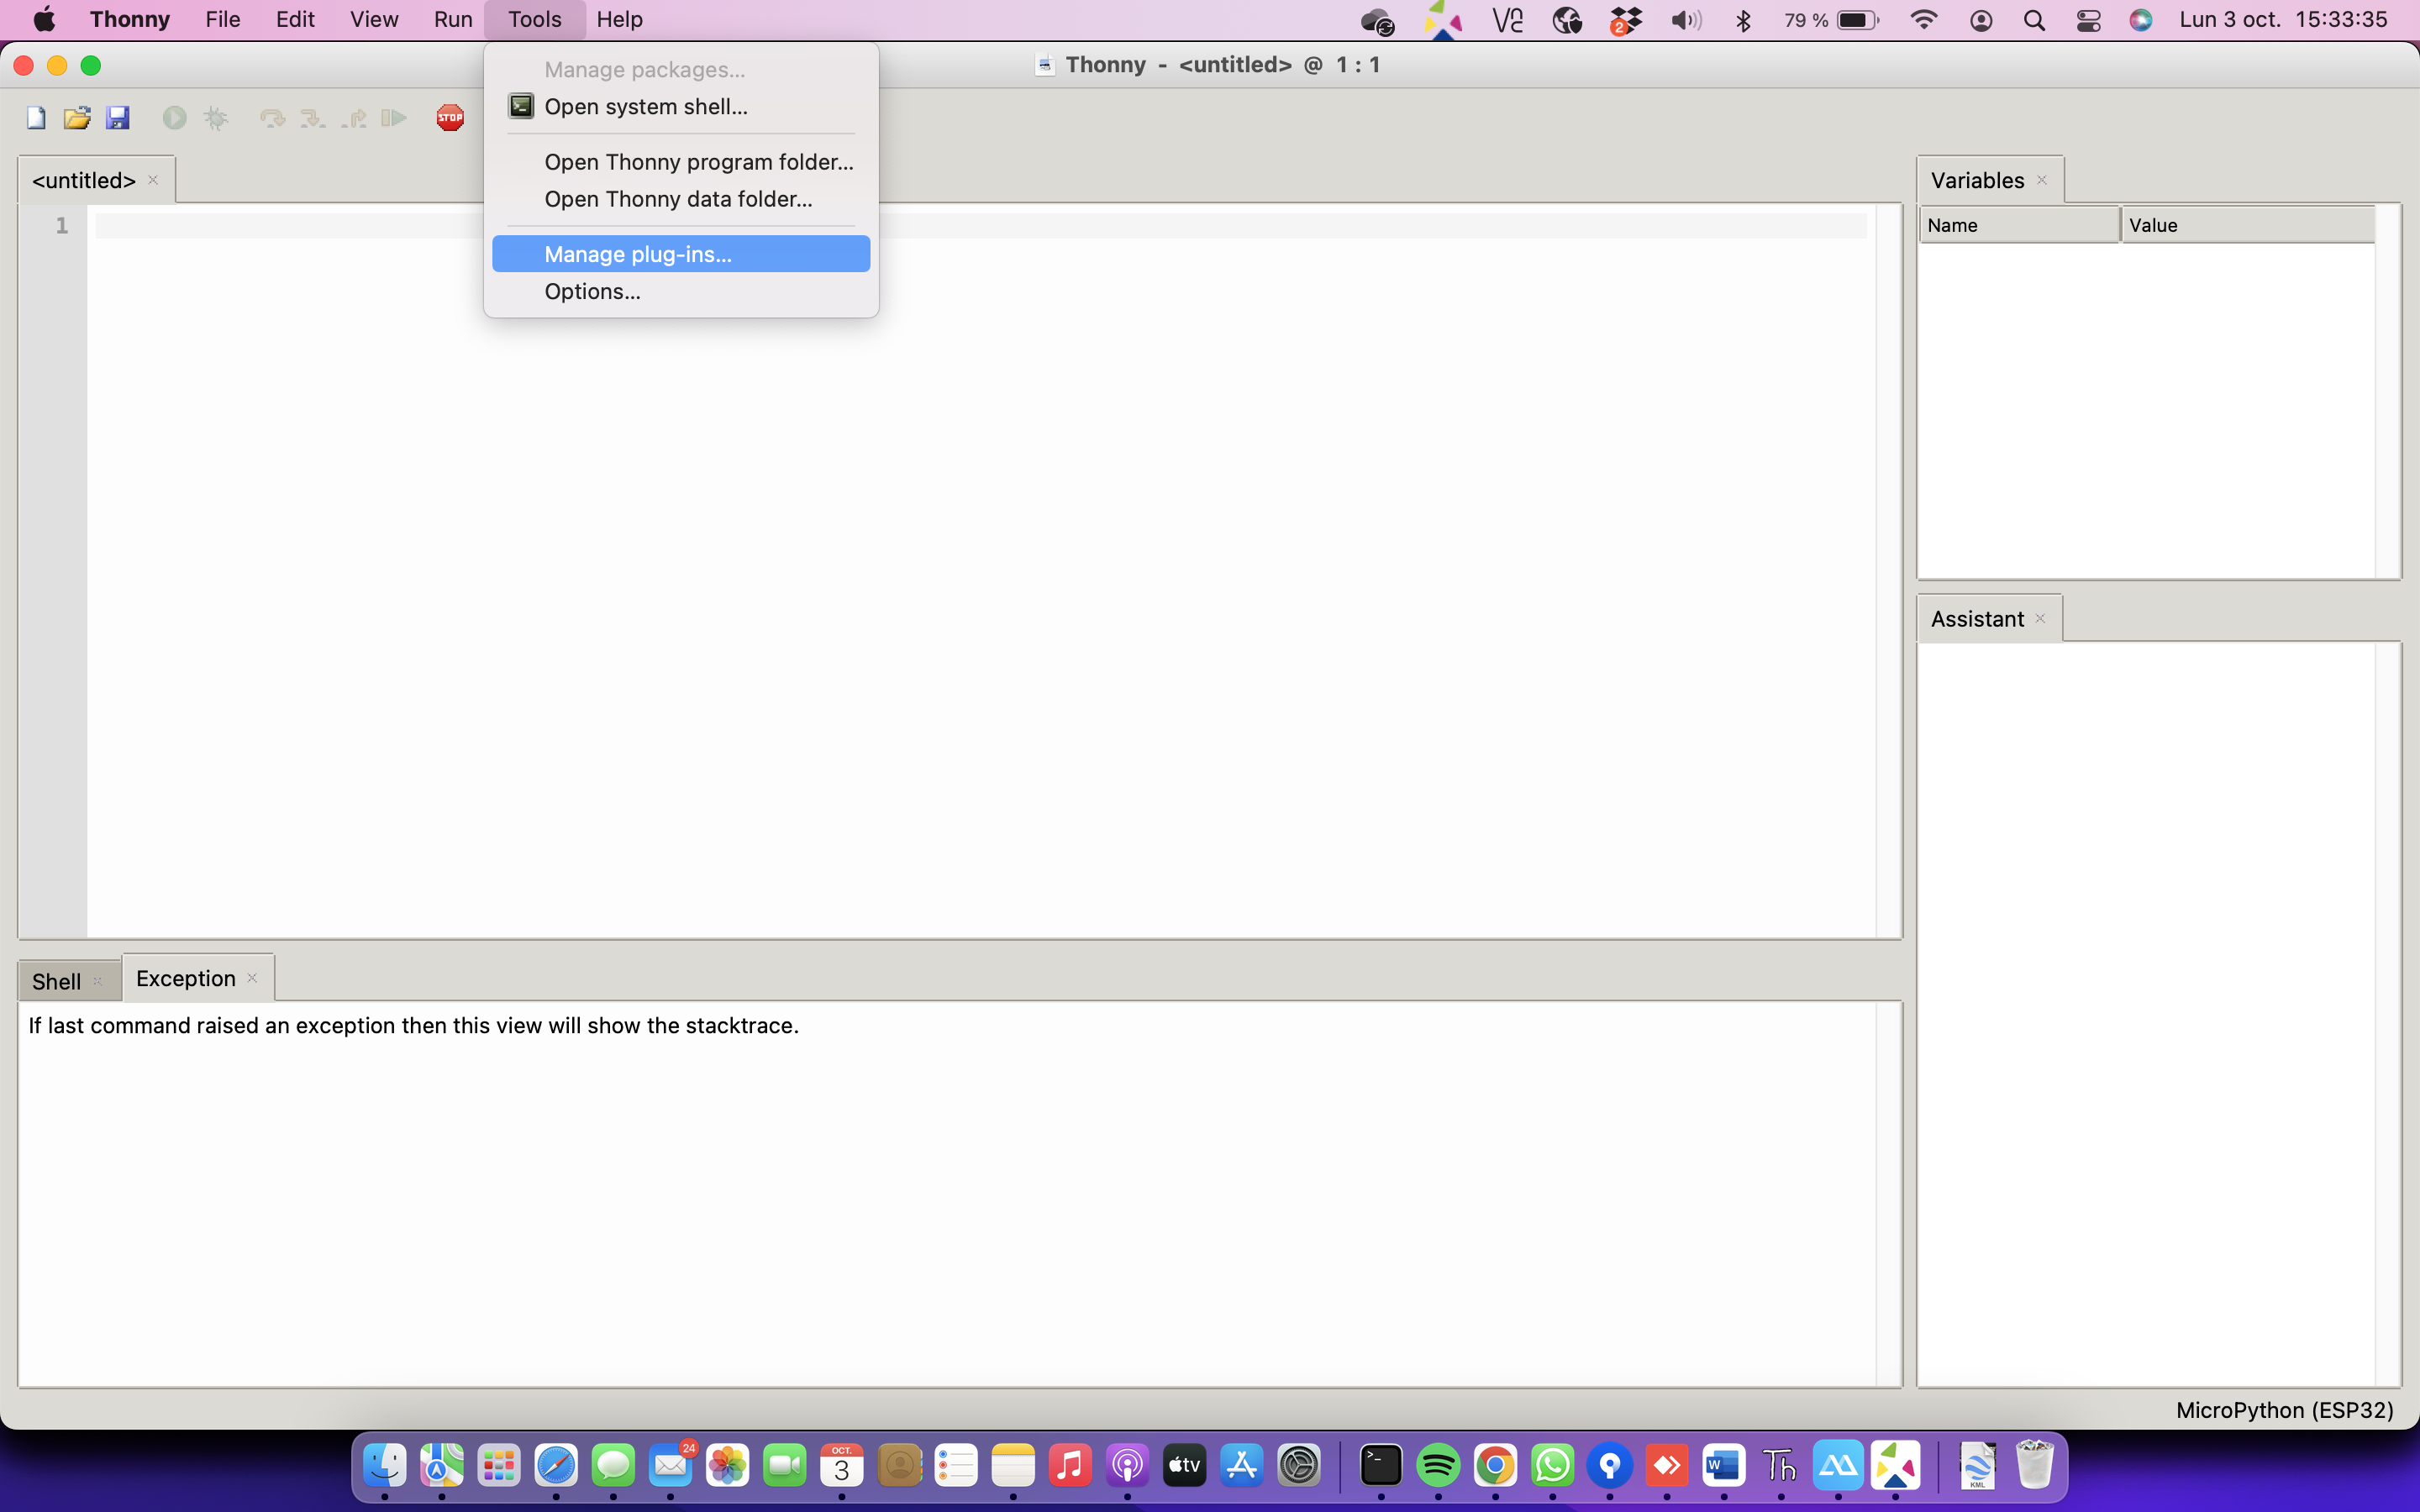
- Open the Thonny software, then go to the menu bar and click on Tools, then click Manager plug-ins.
- Then search for the esptool plug-ins and click install. In this case, the plug-ins are already installed.


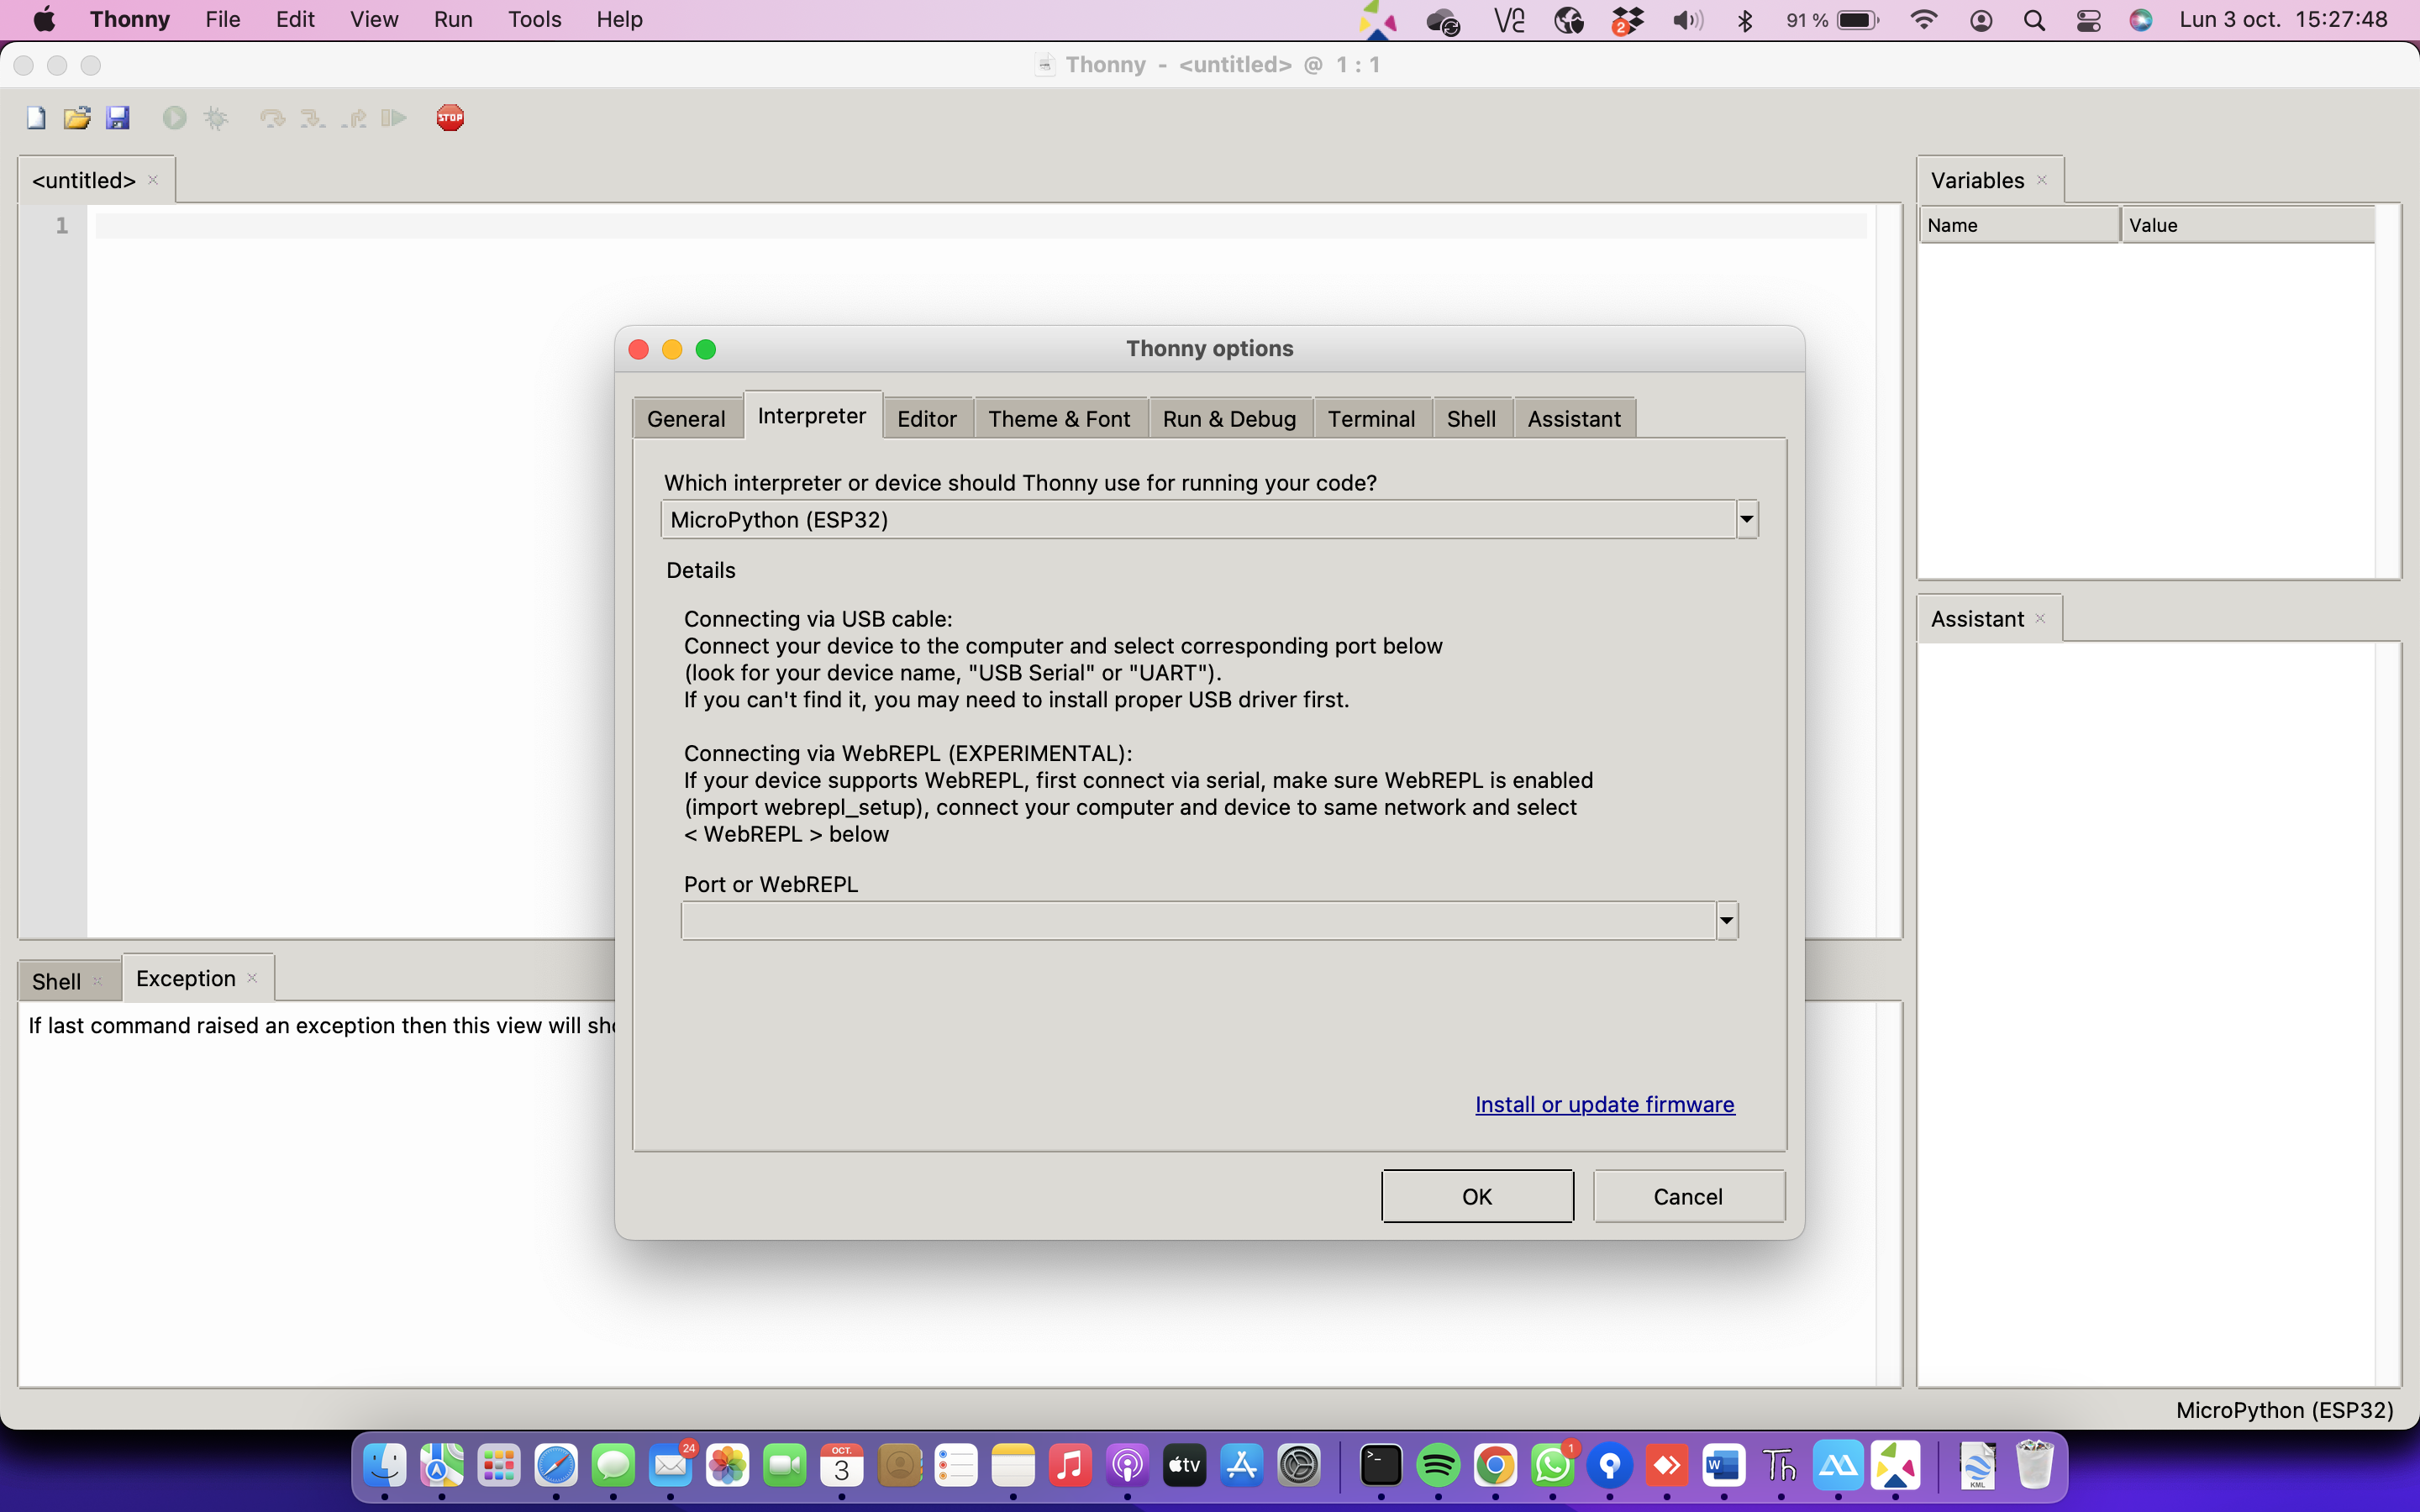
- In the Thonny software, go to the menu Run and click on Select Interpreter.

- In the Thonny options window select the Interpreter menu and click on the link Install or update firmware.
- In the ESP32 firmware install window, select the port to which the ESP32 board is connected and select the firmware downloaded from the website, according to the model used.
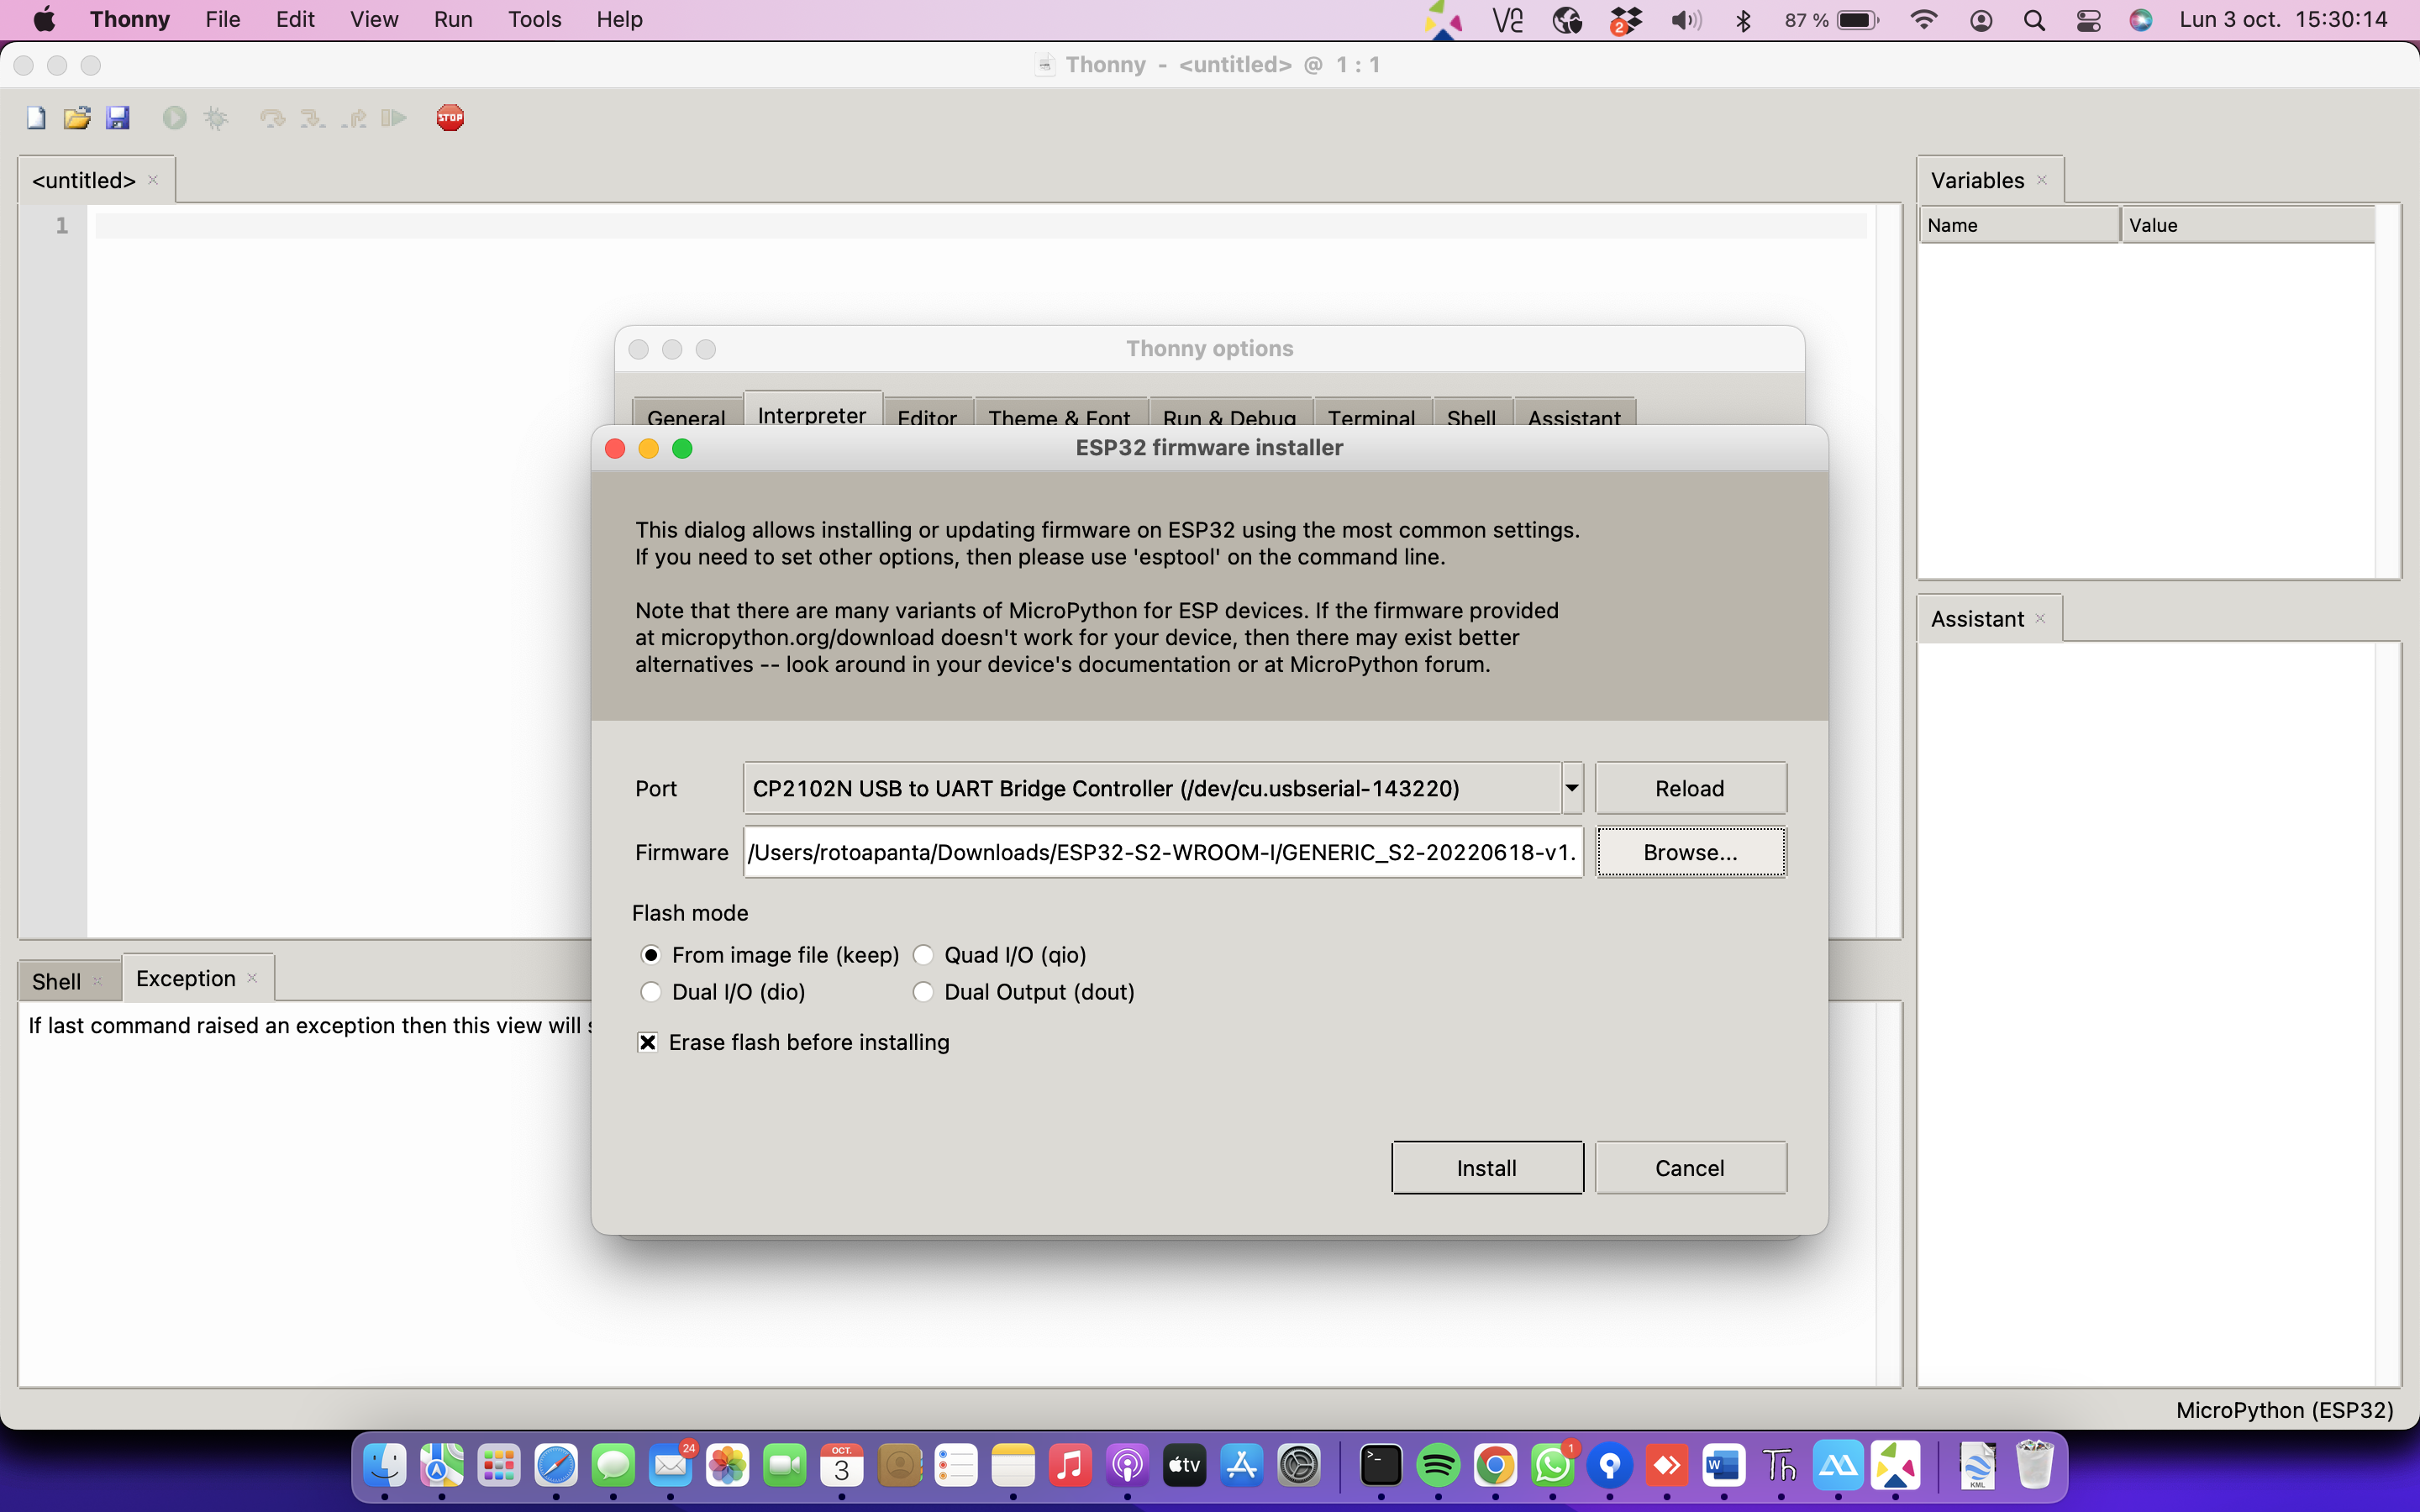
- Finished uploading the firmware is ready to go!

-
Create the files
network.pyandwifi_credentials.py -
Modify the
wifi_credentials.pyfile if you want to:- The code line
ssid = 'YOUR_SSID'  # your network SSID (name)`

password = 'YOUR_SSID_PASSWORD' # your network password (use for WPA, or use as key for WEP)
- Revision: 1.1 - Code cleaned.
- Revision: 1.0 - Initial commit
To run this project, you will need to add the following environment variables to your wifi_credentials.py file
ssid = 'YOUR_SSID' # your network SSID (name)
password = 'YOUR_SSID_PASSWORD' # your network password (use for WPA, or use as key for WEP)
To run tests, run the following command
ampy --port /dev/ttyUSB0 run network.pyimport Component from 'my-project'
function App() {
return <Component />
}If you have any feedback, please reach out to us at robertocarlos.toapanta@gmail.com
For support, email robertocarlos.toapanta@gmail.com or join our Discord channel.